Drywall Sanding Grit Explained: From Joint Compound to Paint-Ready Walls
When it comes to drywall finishing, sanding is often the difference between an average wall and a professional, paint-ready surface. Even perfectly installed drywall panels can look uneven if the sanding process is rushed or if the wrong abrasive grit is used.
For contractors, drywall professionals, distributors, and private-label abrasive buyers, understanding drywall sanding grit is more than a basic DIY topic. The correct grit sequence directly affects:
- Surface smoothness
- Paint adhesion
- Labor efficiency
- Dust generation
- Abrasive lifespan
- Rework costs
- Final project quality
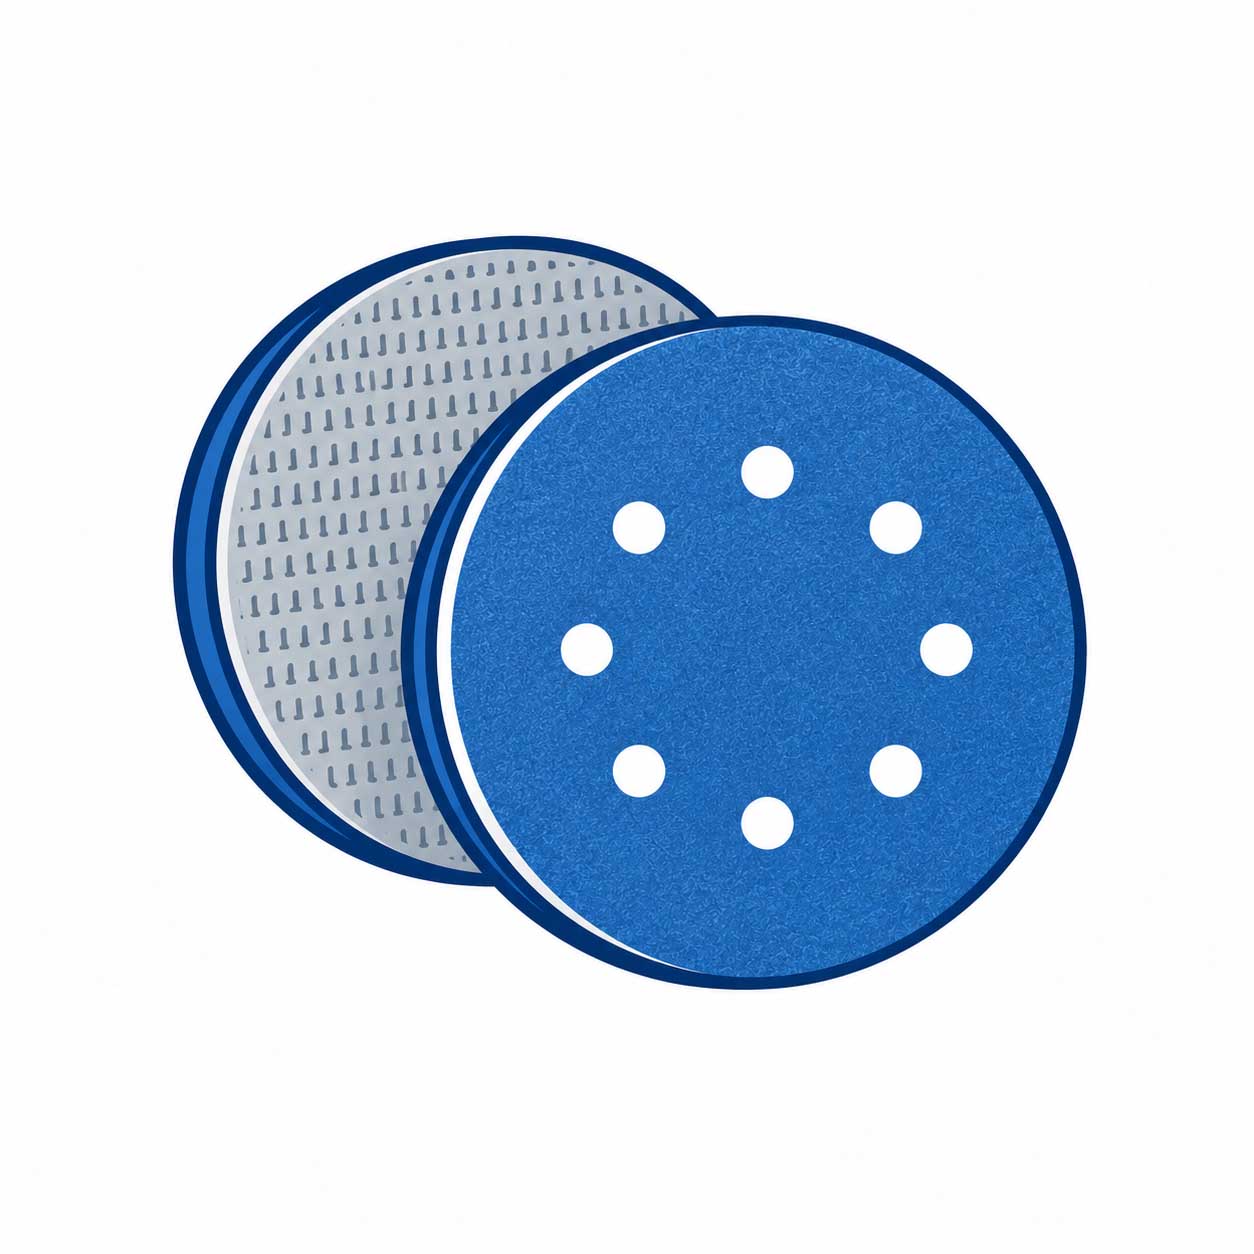
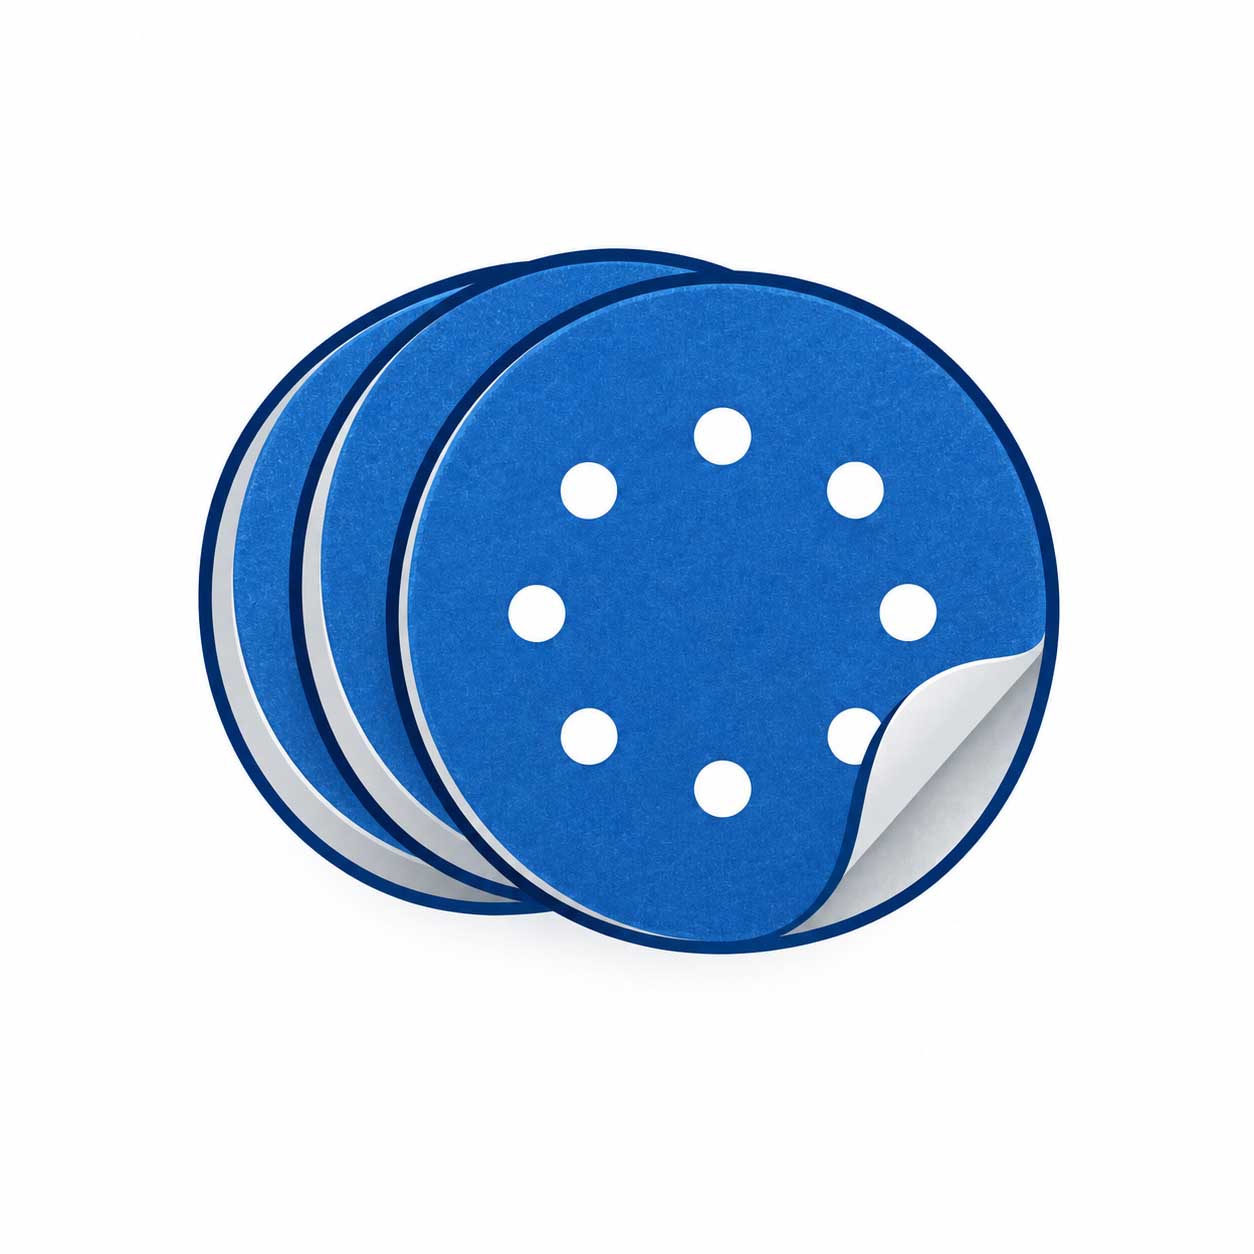
At Aozhong Grinding, we manufacture professional abrasive solutions for drywall sanding applications, including sanding discs, mesh abrasives, sanding sponges, hook-and-loop systems, and anti-loading coated abrasives for global industrial customers. Based on years of abrasive manufacturing experience, this guide explains how professional drywall sanding works, which grit to use at every stage, and how to achieve smooth, consistent, paint-ready walls with fewer sanding defects.
Why Sandpaper Grit Matters in Drywall Sanding
Drywall sanding is not simply about making a wall feel smooth. It is a controlled finishing process designed to:
- Remove excess joint compound
- Blend seams invisibly
- Eliminate ridges and tool marks
- Create consistent surface texture
- Prepare walls for primer and paint
Using the wrong grit can create serious finishing issues.
If the grit is too coarse:
-
Deep scratches become visible after painting
Drywall paper may tear
Surface fuzzing can occur
-
More finishing coats may be required
If the grit is too fine:
- Sanding becomes slow and inefficient
- Abrasives clog quickly
- High spots remain visible
- Productivity decreases significantly
Professional drywall finishing relies on progressive grit refinement. Each sanding stage prepares the surface for the next step
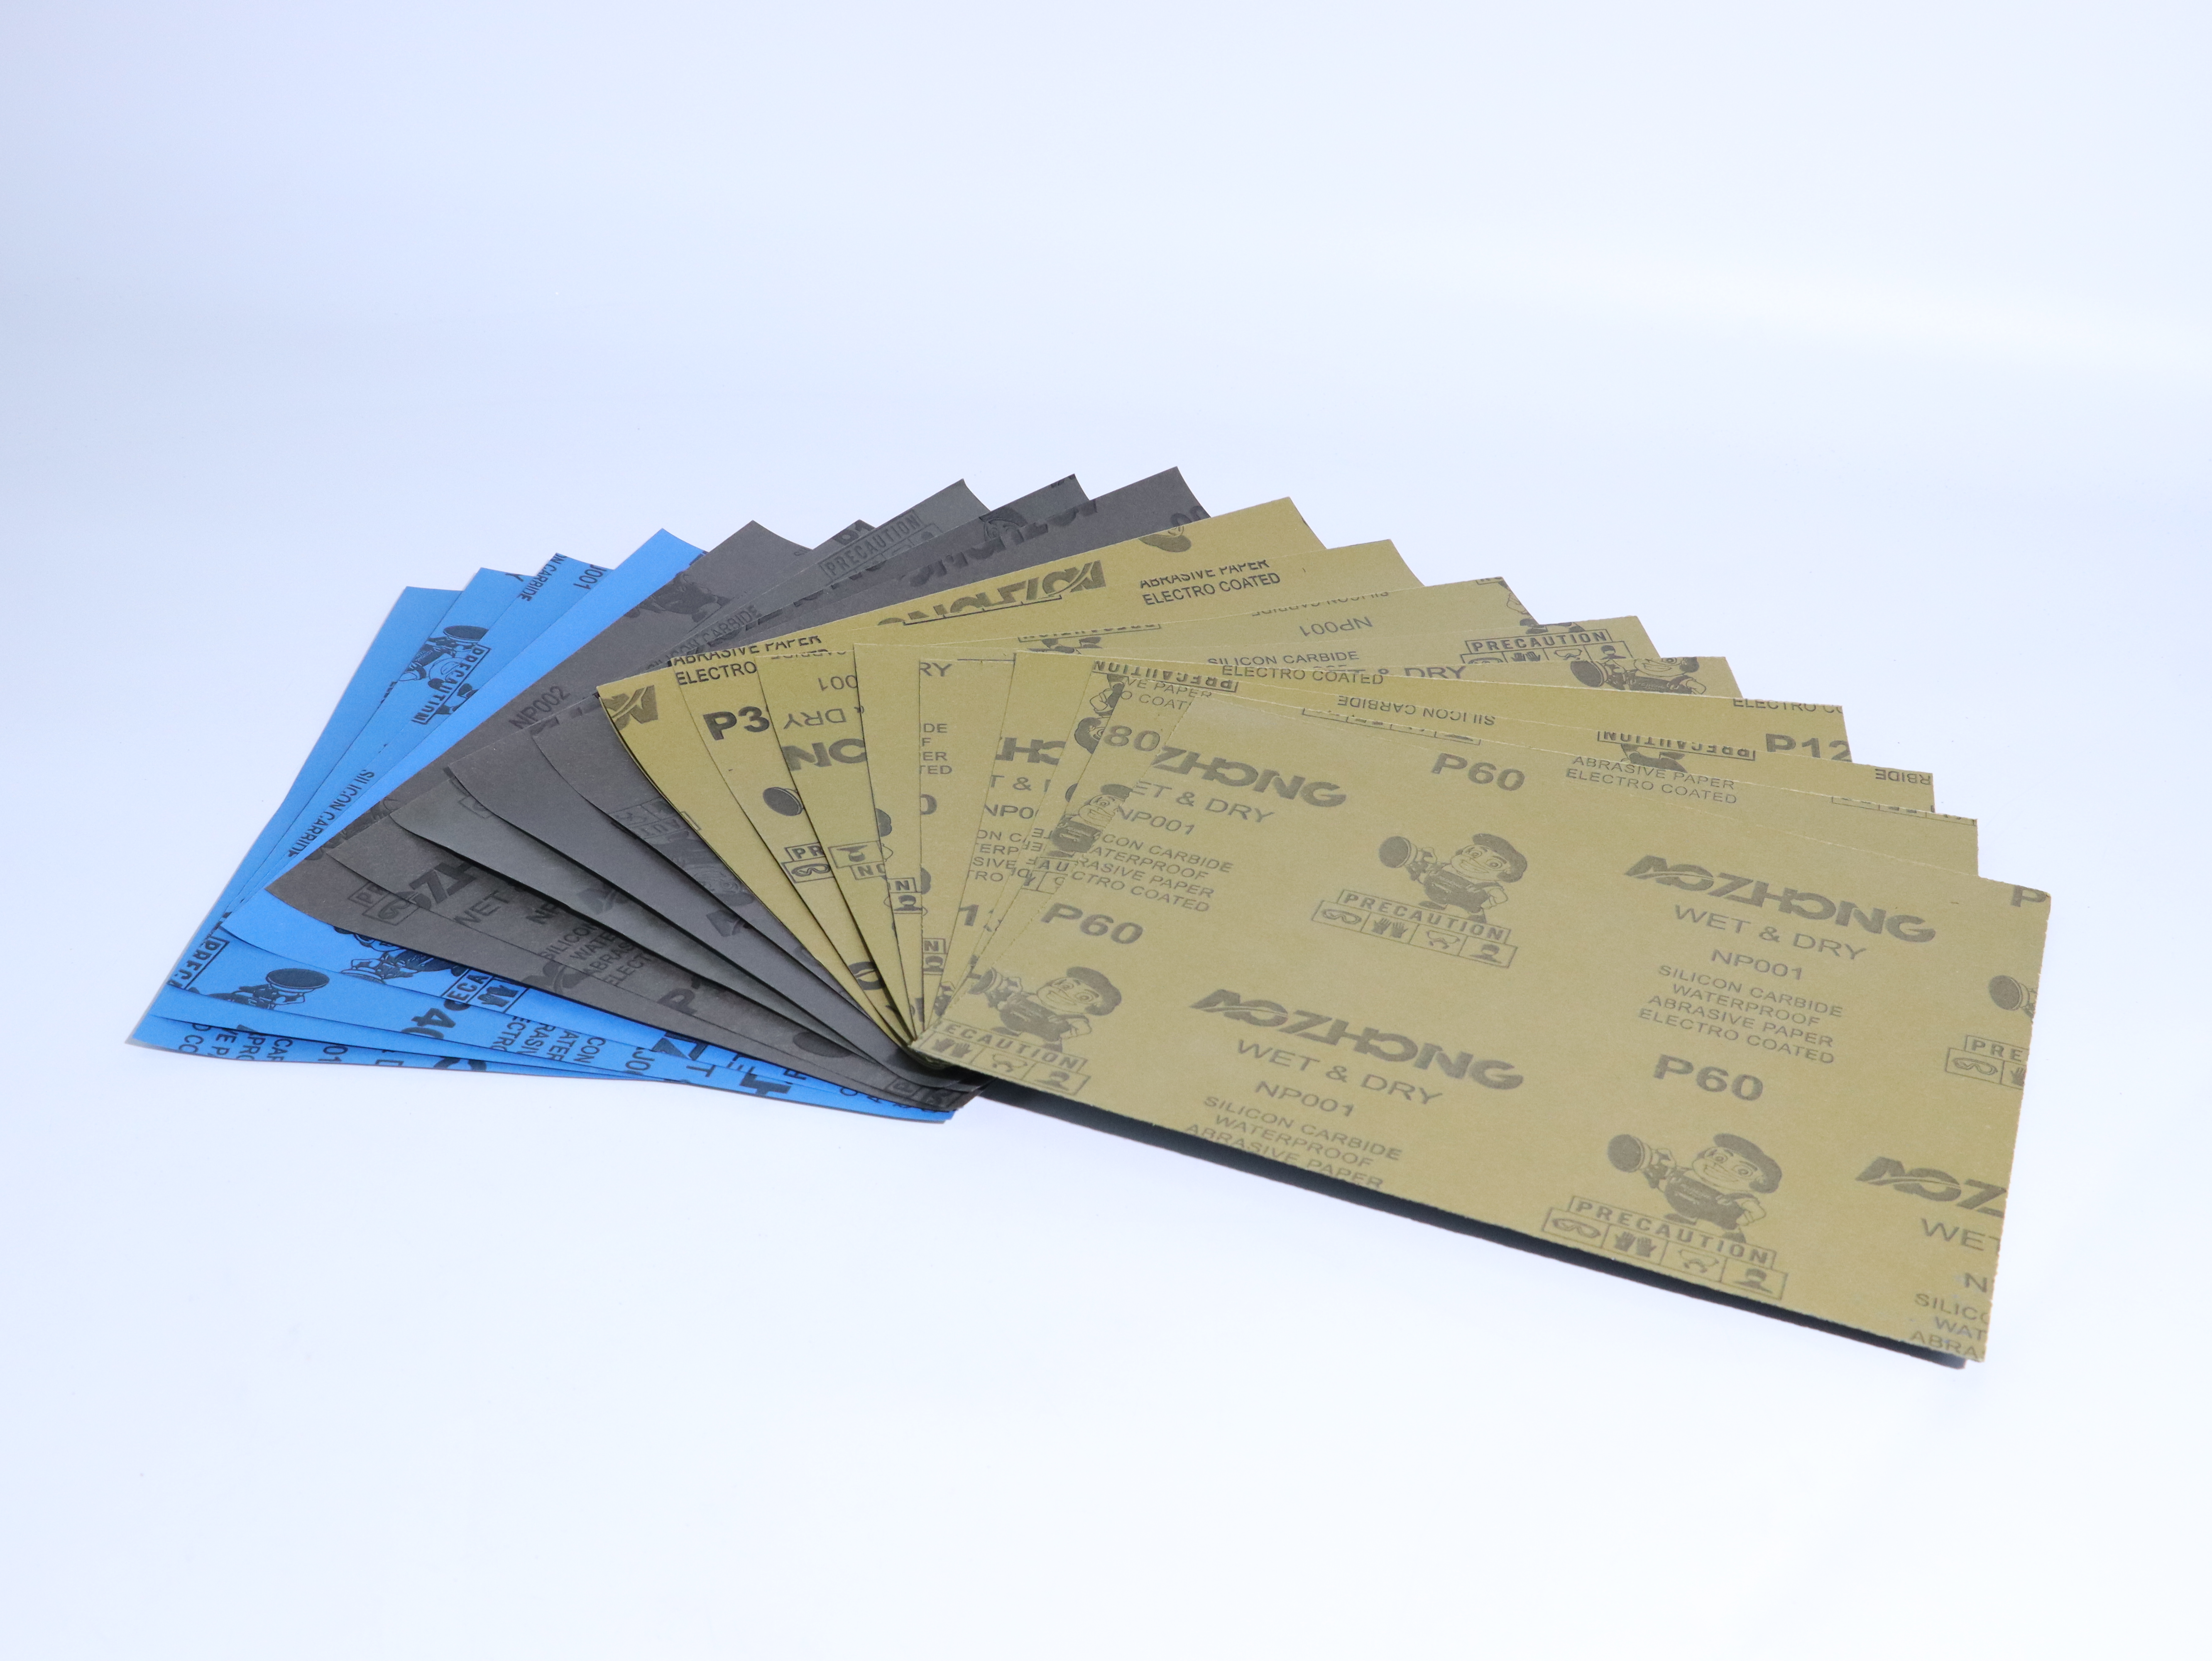
Understanding Sandpaper Grit Ratings
Sandpaper grit refers to the size of abrasive particles attached to the backing material.
In general:
| Grit Number |
Abrasive Aggressiveness |
Surface Finish |
| Lower Grit |
More aggressive |
Rougher finish |
| Higher Grit |
Less aggressive |
Smoother finish |
Lower grit abrasives remove material quickly, while higher grits refine and smooth the surface.
For drywall applications, professionals commonly use grit ranges between 80 and 220.
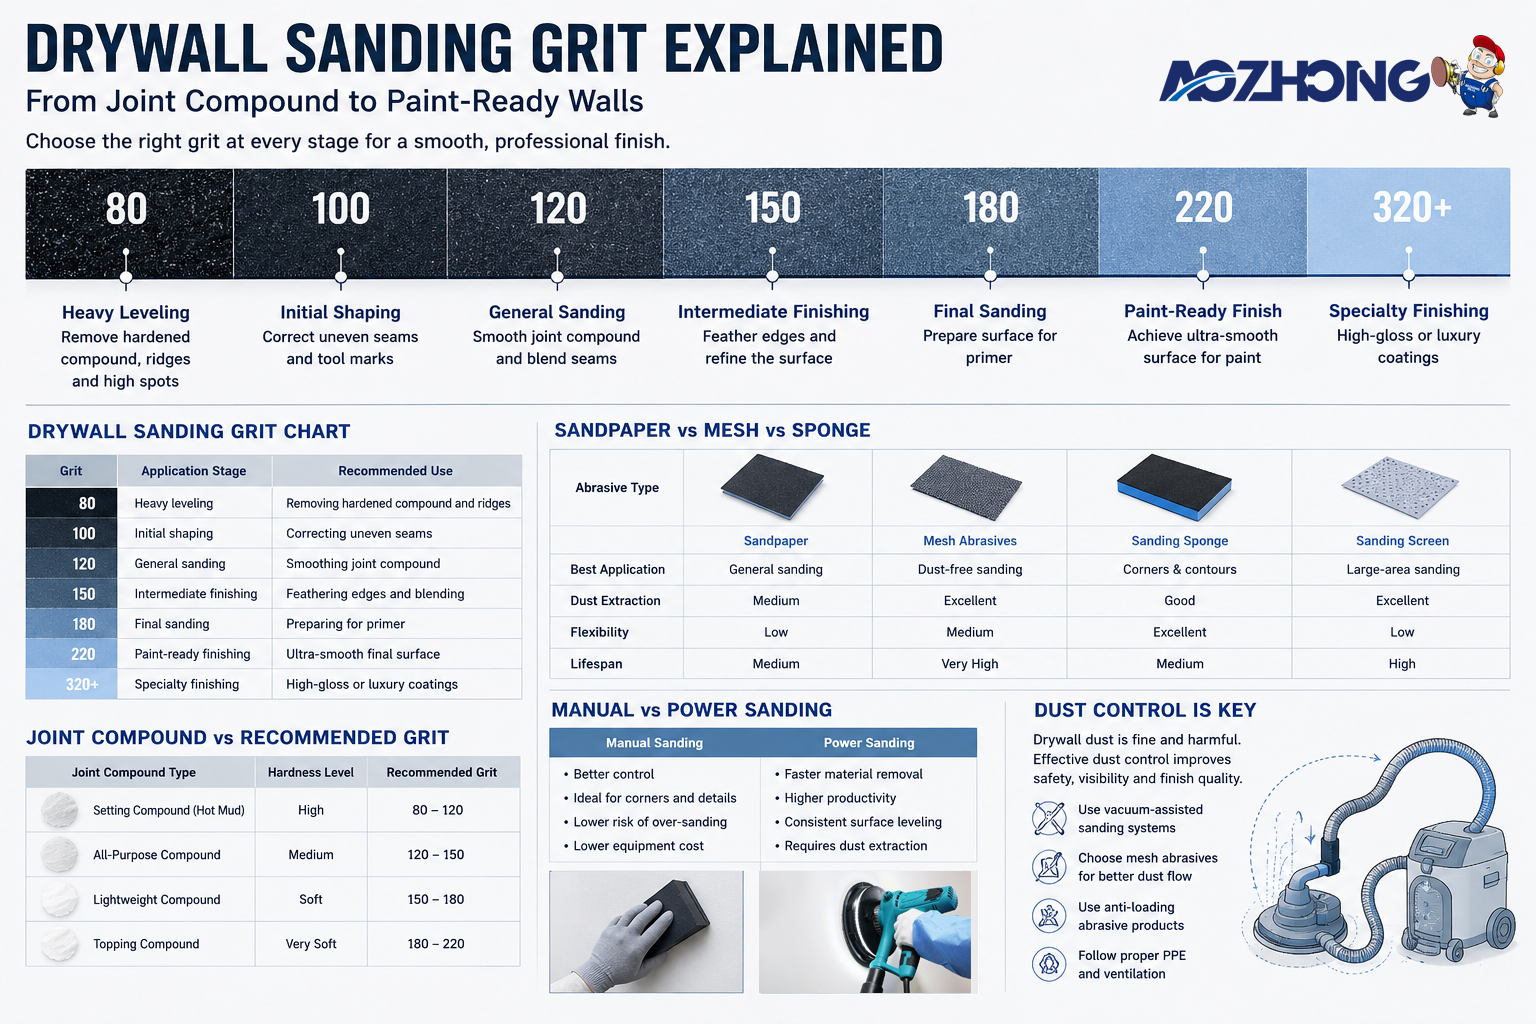
Drywall Sanding Grit Chart
The following drywall sanding grit chart shows the most commonly recommended grit progression for professional drywall finishing.
| Sandpaper Grit |
Application Stage |
Recommended Use |
| 80 Grit |
Heavy leveling |
Removing hardened compound and ridges |
| 100 Grit |
Initial shaping |
Correcting uneven seams |
| 120 Grit |
General sanding |
Smoothing joint compound |
| 150 Grit |
Intermediate finishing |
Feathering edges and blending |
| 180 Grit |
Final sanding |
Preparing for primer |
| 220 Grit |
Paint-ready finishing |
Ultra-smooth final surface |
| 320+ Grit |
Specialty finishing |
High-gloss or luxury coatings |
Most professional drywall projects use a combination of 120, 150, and 220 grit abrasives.
Best Sandpaper Grit for Each Stage of Drywall Sanding
1. 80–100 Grit: Heavy Material Removal
Coarse grits are used during aggressive correction work.
Typical applications include:
- Removing excess dried joint compound
- Fixing ridges and high spots
- Sanding hardened setting compound ("hot mud")
- Correcting poor taping work
Because these grits remove material quickly, they should be used carefully. Excessive pressure can damage drywall paper or create deep scratches that remain visible under paint.
Professional contractors typically reserve 80–100 grit abrasives for:
- Repair work
- Commercial renovation
- Uneven drywall seams
- Fast-setting compounds
For standard finishing work, many professionals skip 80 grit entirely and begin with 120 grit.
2. 120–150 Grit: General Drywall Sanding
This is the most important sanding stage.
Medium-grit abrasives smooth the joint compound while preserving the integrity of the drywall surface.
120–150 grit is widely considered the best all-purpose drywall sanding range because it:
- Removes sanding lines
- Blends seams smoothly
- Feathers edges effectively
- Reduces visible transitions
- Minimizes drywall surface damage
Professional drywall finishers often perform most sanding operations within this grit range.
3. 180–220 Grit: Paint-Ready Finishing
Fine-grit abrasives are used during the final finishing stage before primer or paint.
Their purpose is not aggressive material removal. Instead, they:
- Eliminate micro scratches
- Refine surface texture
- Improve paint adhesion
- Produce smooth visual consistency
- Prepare walls for high-quality coatings
220 grit is considered the industry-standard finishing grit for premium drywall surfaces.
Professional painters especially prefer 220 grit preparation when using:
- Satin paint
- Semi-gloss paint
- High-gloss coatings
- Dark paint colors
- Directional lighting environments
Under strong lighting, even minor drywall imperfections become highly visible. Fine sanding dramatically improves final appearance quality.
4. 320+ Grit: Specialty Surface Preparation
Ultra-fine grits are used only in specialized finishing environments.
These include:
- Luxury residential projects
- High-gloss decorative coatings
- Museum-grade wall finishing
- Reflective lighting applications
However, finer grits above 320 are rarely necessary for standard drywall projects because they:
- Increase labor time
- Clog quickly
- Offer minimal performance benefit
- Risk over-polishing the surface