Repainting an old wall usually requires more than applying a new coat of paint.
The existing surface may contain peeling paint, repaired holes, filler patches, raised paint edges, scratches, glossy areas, or uneven texture. These problems need to be corrected before primer or paint is applied.
A practical wall renovation process is:
Inspect → Remove Unstable Paint → Level Repairs → Feather Paint Edges → Refine the Surface → Remove Dust → Repaint
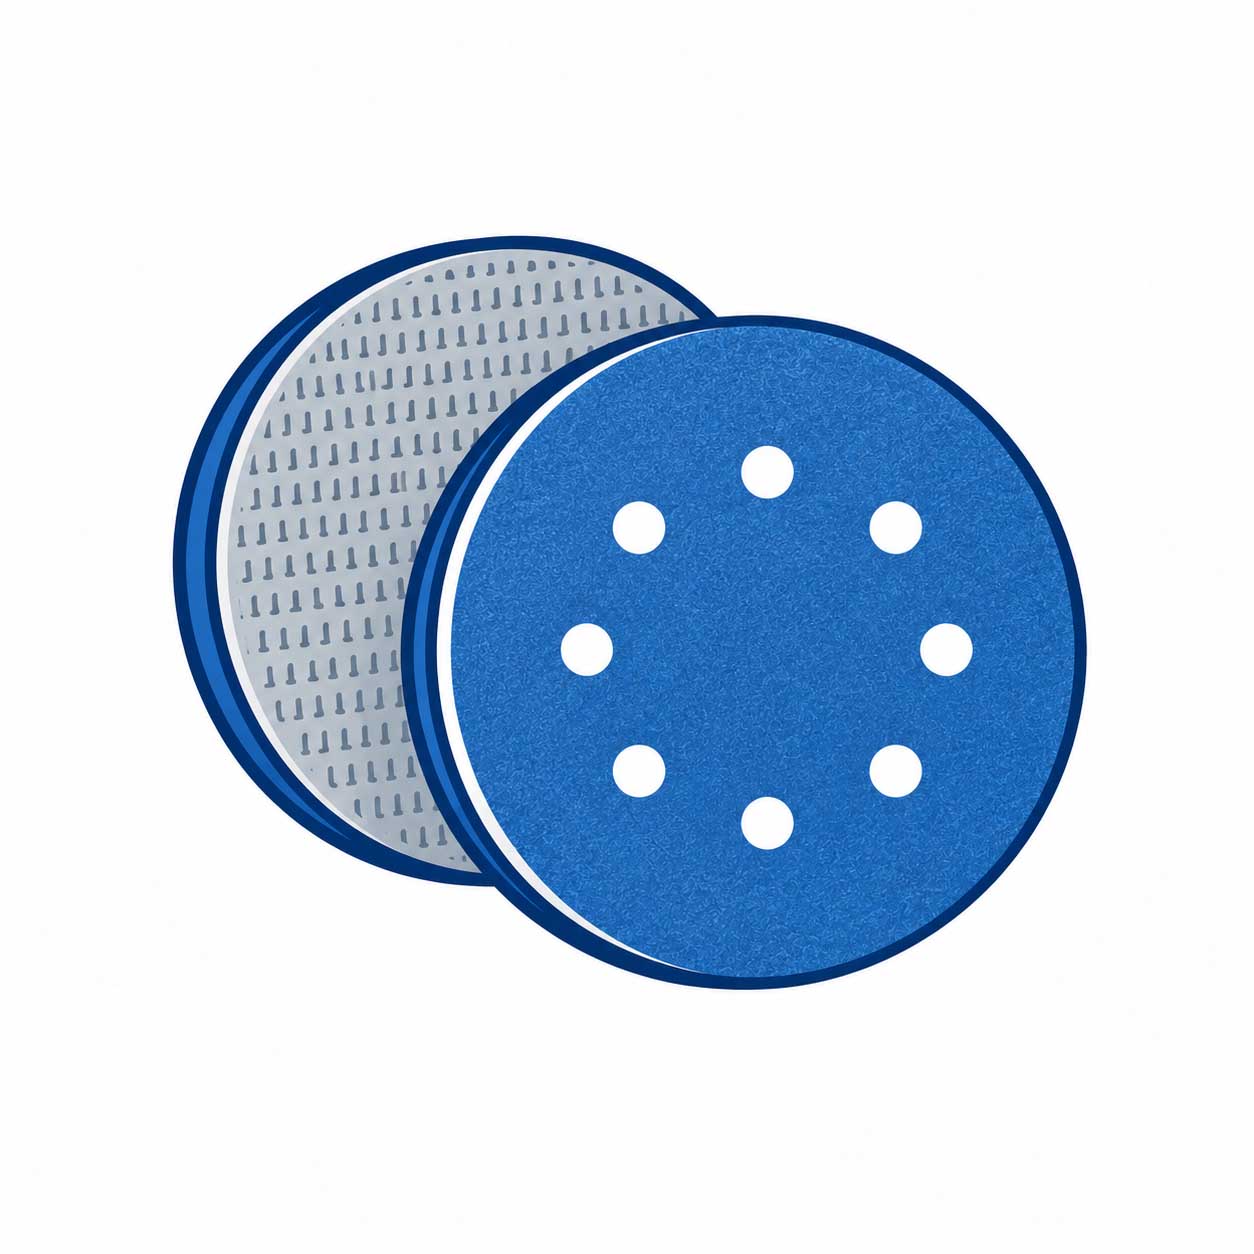
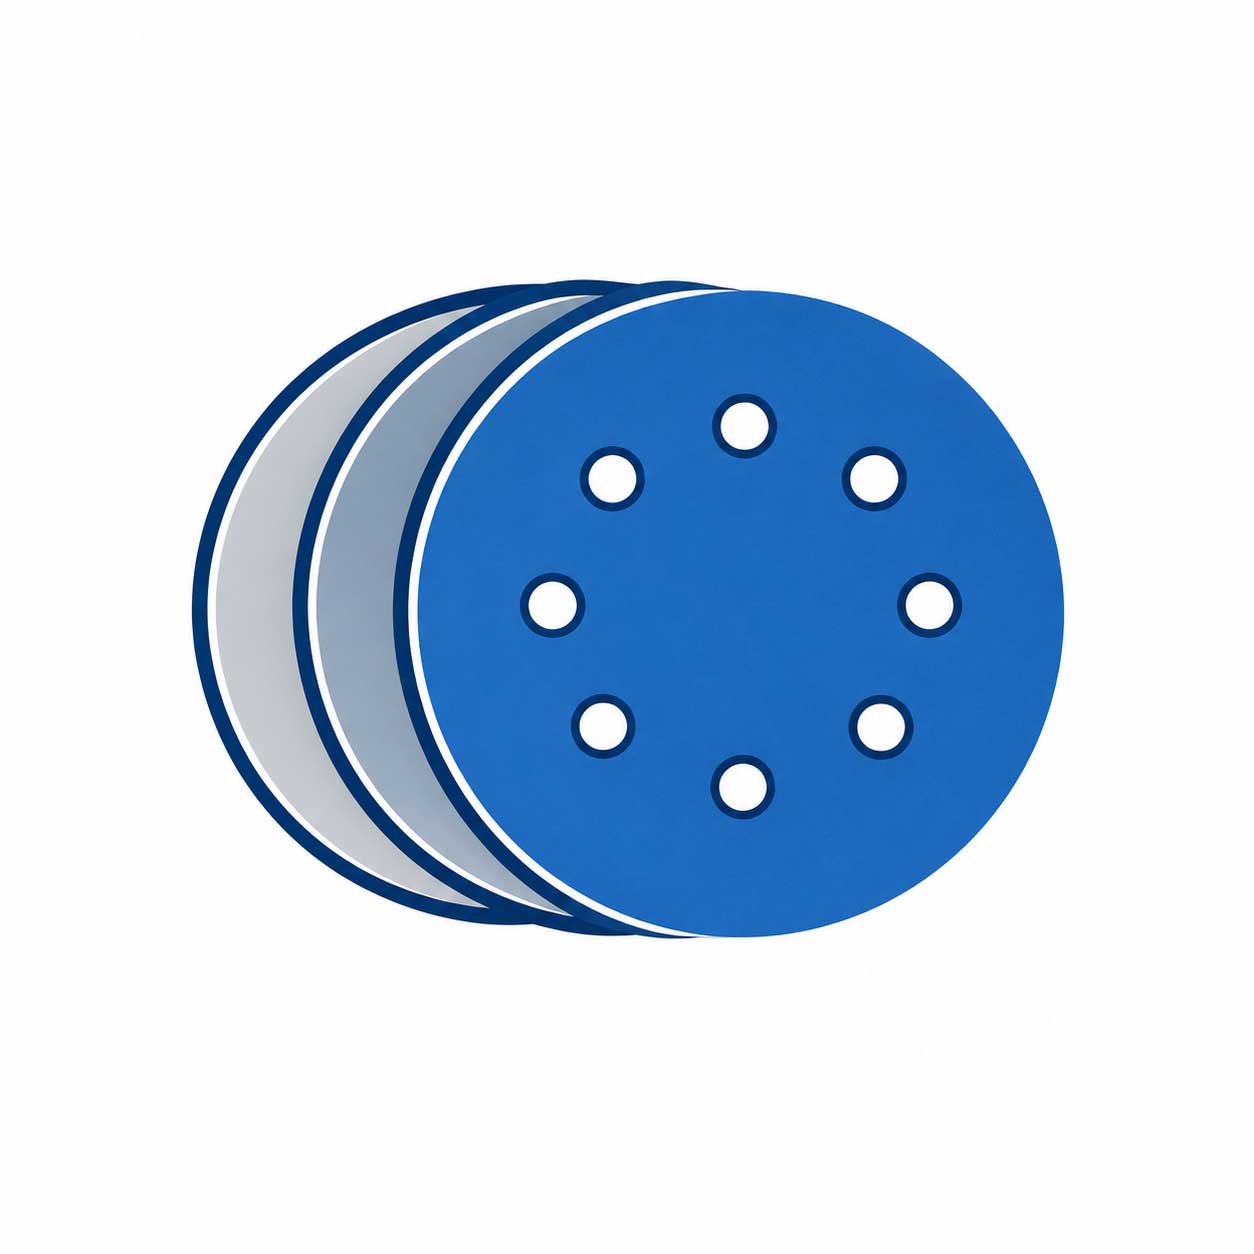
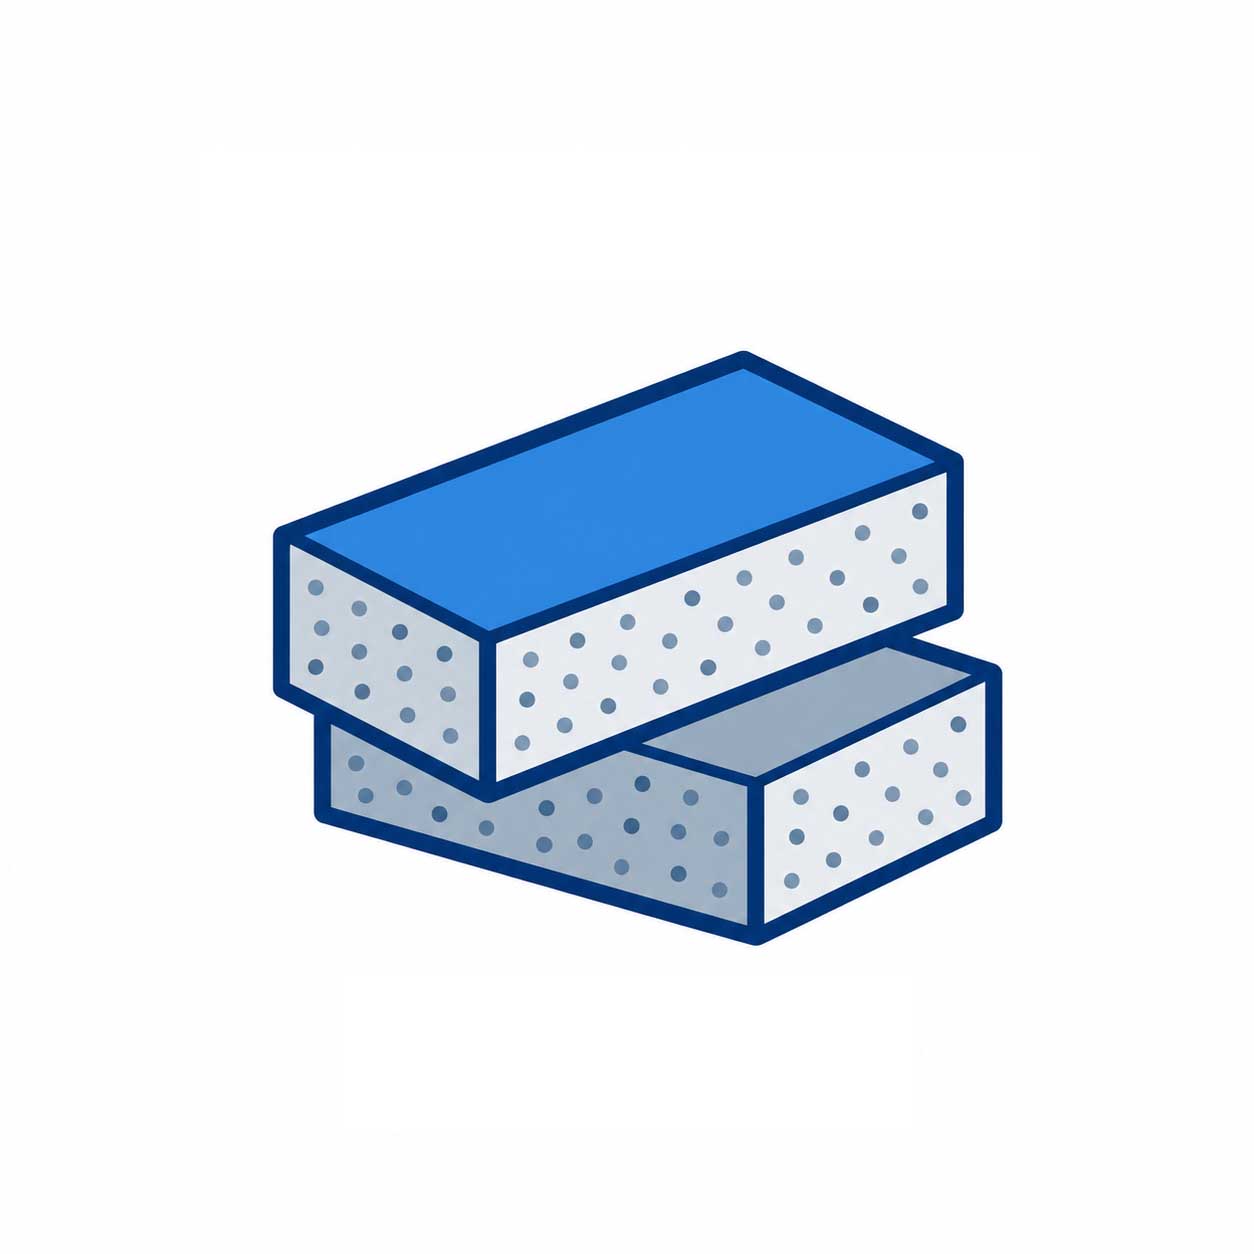
Aozhong provides Mesh Sanding Discs, Hook & Loop Sanding Discs, Multi-Hole Sanding Discs, Sanding Sponges, Sanding Sheets, Rolls, and fine finishing abrasives for different wall preparation stages.
The key is not to sand every wall aggressively.
The abrasive should match the actual surface problem.
Not every repainting project requires complete paint removal.
If the existing coating is stable, firmly attached, and suitable for the next paint system, the surface may only need cleaning and light abrasion.
Loose or peeling paint requires a different approach.
| Existing Wall Condition | Main Requirement | Abrasive Direction |
|---|---|---|
| Stable Old Paint | Light surface preparation | Fine abrasive / sponge |
| Peeling Paint | Remove unstable coating | Sanding disc / sheet |
| Raised Paint Edge | Feather the transition | Medium / fine abrasive |
| Repair Patch | Level and blend | Mesh disc / sponge |
| Glossy Painted Wall | Light abrasion before repainting | Fine abrasive |
| Deep Surface Defect | Local correction | Coated sanding disc |
| Fine Surface Scratch | Refinement | Fine sanding abrasive |
A useful rule is:
Remove unstable material, not necessarily every layer of old paint.
Aggressive sanding where it is not required can create unnecessary repair work.
Before sanding unknown older coatings, contractors should also check whether special handling or local safety requirements apply.
When paint peels away from a wall, simply removing the loose section may leave a visible step between the exposed substrate and the surrounding coating.
If this edge remains high, it may still be visible after repainting.
The sanding process should therefore include:
Remove Loose Paint → Reduce the Raised Edge → Feather the Transition → Refine the Area
| Stage | Main Purpose | Product Direction |
|---|---|---|
| Loose Coating Removal | Remove unstable paint | Sanding sheet / disc |
| Edge Reduction | Reduce height difference | Medium sanding abrasive |
| Feathering | Blend old coating into surrounding wall | Fine disc / sponge |
| Final Refinement | Prepare for primer | Fine abrasive |
Aozhong Sanding Sheets and Hook & Loop Sanding Discs can be used for larger paint edges, while Sanding Sponges provide more control around irregular repair areas.
The goal is not to create a large bare area.
The goal is to create a smooth transition that will not remain obvious after painting.
Old walls often contain repaired areas such as:
After filler dries, the repair may sit slightly above the original wall.
This needs to be leveled before painting.
A practical sequence is:
Patch Center → Patch Edge → Surrounding Wall
Start by correcting the highest part of the repair, then gradually reduce pressure as sanding moves toward the surrounding surface.
| Repair Area | Main Requirement | Aozhong Product Direction |
|---|---|---|
| Large Flat Patch | Level the filler | Mesh / sanding disc |
| Small Repair Spot | Controlled local sanding | Sanding sheet |
| Patch Edge | Feather transition | Sanding sponge |
| Inside Corner Repair | Flexible access | Sanding sponge |
| Final Surface Blend | Refine sanding marks | Fine abrasive |
A common mistake is sanding only the center of the repair.
The patch itself may become smooth, but the edge can still remain visible.
The entire transition needs to be blended.
There is no single grit for every wall.
The correct grit depends on:
The following ranges are practical starting references.
| Sanding Stage | Reference Grit Range | Main Purpose |
|---|---|---|
| Heavy Paint Edge / Defect | P80–P120 | Remove higher defects |
| Patch Leveling | P120–P180 | Level filler and repairs |
| General Wall Refinement | P150–P220 | Refine surface |
| Fine Pre-Paint Preparation | P180–P240+ | Prepare for primer or paint |
These ranges are not fixed specifications.
A softer filler may sand quickly with a finer grit, while a hard repair compound may require a more aggressive starting point.
A useful rule is:
Use the finest abrasive that can still correct the current defect efficiently.
Then refine the scratch pattern before painting.
Mesh Sanding Discs and Sanding Sponges are both useful for wall renovation, but they are not interchangeable.
Mesh abrasives are better suited to larger machine-sanded areas and dust extraction.
Sanding sponges provide better control on corners, edges, and repair transitions.
| Application | Mesh Sanding Disc | Sanding Sponge |
|---|---|---|
| Large Wall Area | Excellent | Low efficiency |
| Electric Wall Sander | Excellent | Not typical |
| Dust Extraction | Good with compatible system | Manual sanding |
| Repair Patch | Good | Good |
| Inside Corner | Limited | Excellent |
| Paint Edge Feathering | Good | Excellent |
| Curved / Uneven Area | Limited | Excellent |
| Detail Work | Limited | Excellent |
A simple selection principle is:
Mesh = efficiency + dust movement
Sponge = flexibility + control
Aozhong Mesh Sanding Discs use an open structure that can help sanding dust move toward a compatible extraction system.
However, the complete system matters:
Disc → Backing Pad → Sander → Hose → Dust Extractor
Mesh abrasives do not eliminate dust by themselves.
A wall does not need to be peeling before sanding becomes useful.
Some existing coatings are simply too smooth or glossy for the next coating process.
In this case, the objective is not complete paint removal.
It is controlled surface preparation.
A practical sequence may be:
Clean → Light Sanding → Remove Dust → Prime if Required → Repaint
| Wall Condition | Main Goal | Abrasive Direction |
|---|---|---|
| Smooth Glossy Paint | Create a more suitable surface | Fine abrasive |
| Minor Surface Marks | Refine local defects | Fine disc / sponge |
| Stable Existing Coating | Light scuff sanding | Fine abrasive / non-woven |
| Primered Repair Area | Scratch refinement | Fine sanding disc |
For this stage, overly coarse abrasive can create scratches that remain visible through the new coating.
Aozhong Fine Sanding Discs, Sanding Sponges, and suitable Non-Woven Abrasives can be evaluated for light surface preparation depending on the coating system.
The final sanding method should follow the primer or paint manufacturer's requirements.
A practical wall renovation product range should cover both machine sanding and hand sanding.
| Wall Renovation Task | Aozhong Product Direction |
|---|---|
| Old Paint Edge Sanding | Sanding Disc / Sheet |
| Large Wall Refinement | Mesh Sanding Disc |
| Dust Extraction Sanding | Mesh / Multi-Hole Disc |
| Repair Patch Leveling | Coated Sanding Disc |
| Patch Edge Blending | Sanding Sponge |
| Corner Sanding | Sanding Sponge |
| Manual Repair | Sanding Sheet |
| Fine Pre-Paint Sanding | Fine Sanding Disc |
| Light Surface Conditioning | Non-Woven Abrasive |
Wall renovation sanding is mainly about correcting unstable paint, leveling repair patches, feathering coating edges, and preparing a consistent surface before repainting.
Mesh Sanding Discs are useful for larger dust-heavy sanding areas. Sanding Sponges provide better control around corners, edges, and repair transitions. Sanding Sheets support local hand sanding, while fine discs can be used for general surface refinement.
A practical selection method is:
Wall Condition → Defect → Sanding Stage → Abrasive Format → Grit → Final Paint System
The objective is not to remove as much old paint as possible.
It is to remove unstable material, correct visible defects, and leave the wall ready for the next coating stage.
Yes. Different wall renovation stages require different abrasive formats. Aozhong can provide Mesh Sanding Discs for large dust-heavy areas, coated sanding discs for leveling, Sanding Sponges for corners and paint-edge blending, and Sanding Sheets for manual repair work.
Yes. Depending on the product, customization can include disc diameter, grit, mesh structure, backing, attachment, printing, and packaging. Buyers should provide the wall-sander size and sanding requirements when confirming specifications.
Yes. Depending on the product, sanding sponges can be developed with different grit, size, foam thickness, hardness, abrasive material, shape, color, logo, and packaging. Different sponge structures can be evaluated for corners, repair patches, paint-edge feathering, and manual surface preparation.
Yes. Sample testing is recommended because wall filler, old paint, primers, and sanding equipment can produce different results. Buyers can evaluate cutting efficiency, loading, scratch pattern, dust extraction, sponge flexibility, and final wall quality before confirming the bulk specification.
Yes. Aozhong supports OEM and private-label programs for distributors, paint-tool suppliers, home-improvement channels, and industrial buyers. Depending on the product, customization can include grit, size, backing, hole pattern, sponge structure, logo, labels, barcode, and packaging.