You install a new sanding disc and begin working. After a few passes, the disc stops cutting as efficiently as before.
Instead of removing material, it starts sliding across the surface. The workpiece becomes warmer, and small clumps of dust, paint, or resin begin collecting on the abrasive.
The disc looks worn out, but the abrasive grains may still be intact.
Why does sandpaper clog so quickly?
Sandpaper clogging, also called sandpaper loading, happens when sanding dust, resin, paint, primer, or other material becomes trapped between abrasive grains. The buildup reduces cutting efficiency, increases friction, and may cause scratches or uneven finishes.
The most common causes include using the wrong grit, sanding uncured coatings, excessive pressure, poor dust extraction, and selecting an abrasive structure that is unsuitable for the material.
Fortunately, many loading problems can be reduced by adjusting the sanding process.
For woodworking factories, automotive refinishing shops, painting contractors, and industrial abrasive buyers, understanding these causes is important for improving sanding performance and controlling abrasive consumption.
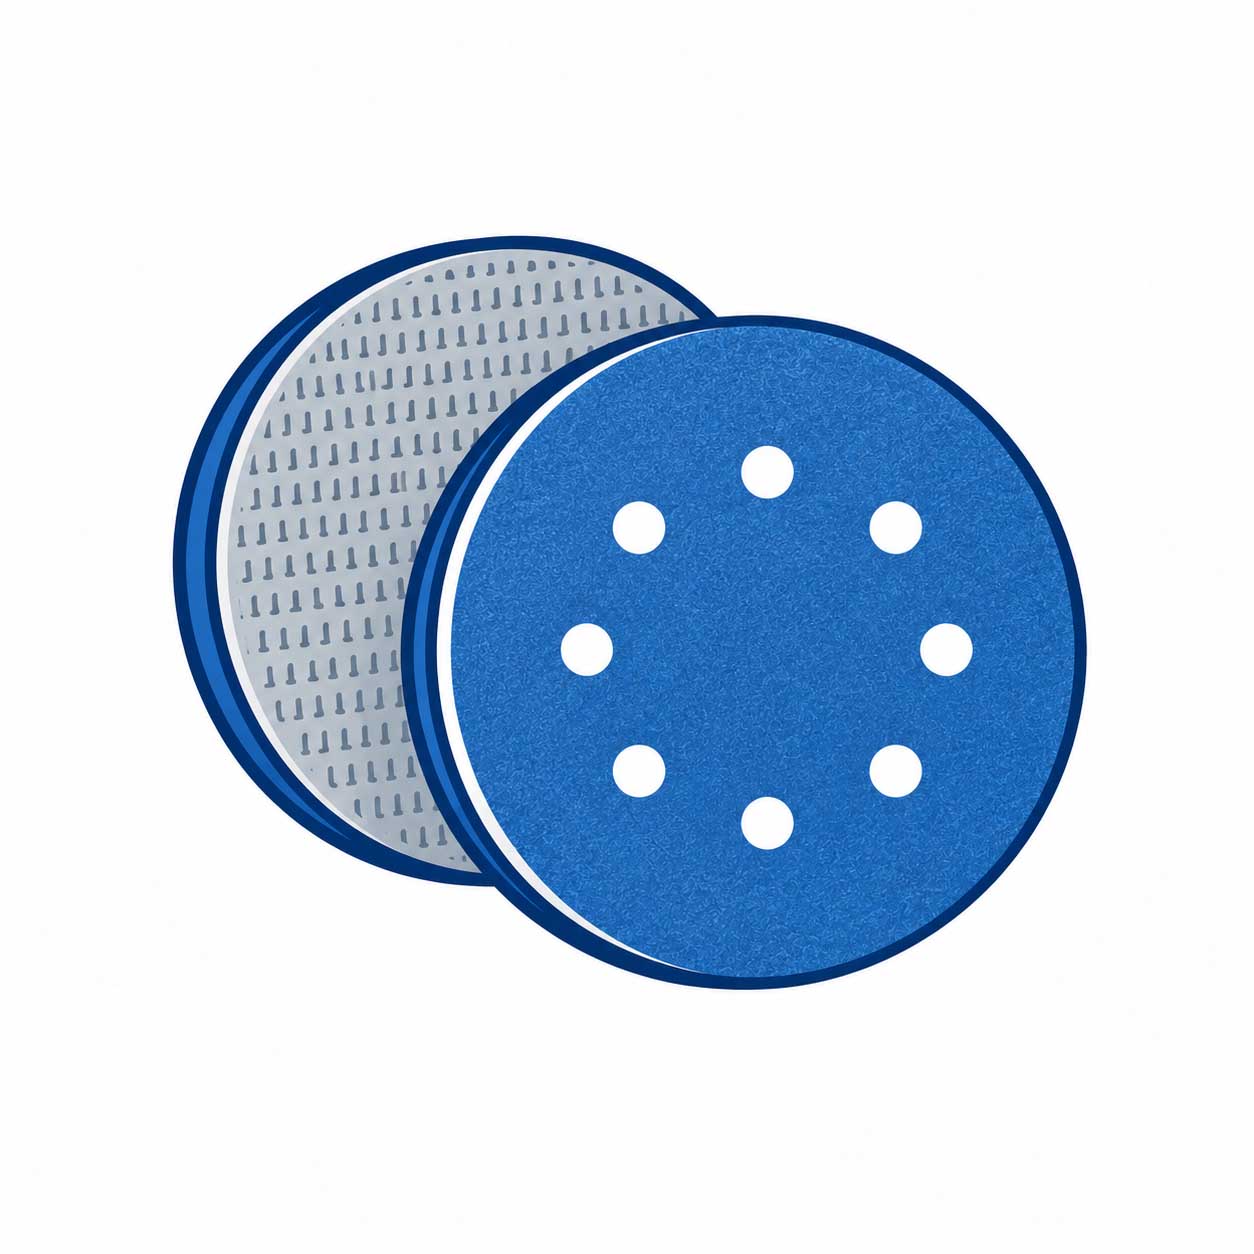
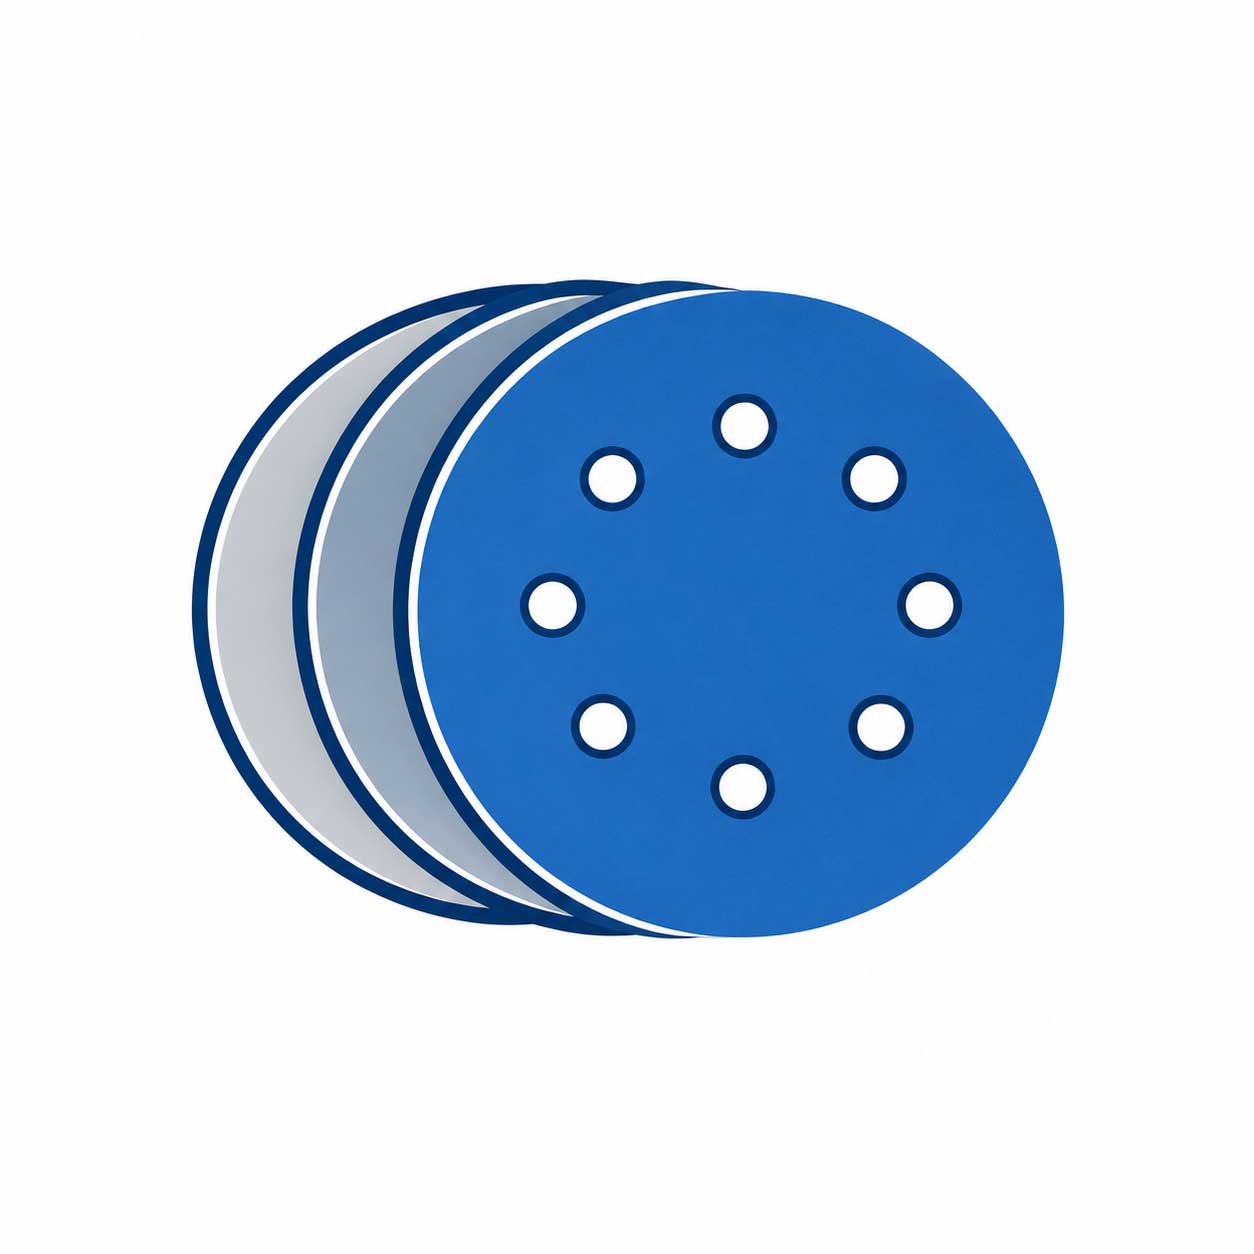
Aozhong manufactures sanding discs, mesh abrasives, film sanding discs, multi-hole abrasive products, sanding sheets, and rolls for different surface preparation processes.
This guide explains why sandpaper clogs, how to identify the problem, and which abrasive products may help reduce loading
Sandpaper should remove material through the cutting action of exposed abrasive grains.
During sanding, removed particles should move away from the contact area.
When particles remain trapped between the grains, they gradually cover the cutting surface.
The abrasive may still contain usable grain, but the trapped material prevents it from cutting effectively.
| Warning Sign | What It May Indicate |
|---|---|
| Reduced Cutting Efficiency | Abrasive grains are covered by sanding residue |
| Visible Dust Buildup | Particles remain between abrasive grains |
| Sticky or Hard Clumps | Softened paint, resin, filler, or coating residue |
| Increased Surface Heat | Friction and poor material removal |
| Uneven Sanding Scratches | Trapped debris is dragged across the workpiece |
| Pigtail or Swirl Marks | Hard particles or buildup interfere with sanding |
| Increased Pressure Required | The abrasive is no longer cutting normally |
One common mistake is applying more pressure when the disc stops cutting.
This often makes the problem worse.
Excessive pressure can increase friction, trap more residue, and interfere with the movement of a random orbital sander.
These two conditions may look similar, but they require different solutions.
| Condition | Clogged Sandpaper | Worn-Out Sandpaper |
|---|---|---|
| Abrasive Grain | May remain usable under buildup | Dull, damaged, or missing |
| Surface Appearance | Packed dust or visible clumps | Worn or flattened abrasive |
| Main Problem | Material blocks cutting edges | Cutting edges have lost effectiveness |
| Cleaning | May restore some performance | Cannot restore worn cutting edges |
| Recommended Action | Identify cause, clean if suitable | Replace abrasive |
If loose buildup can be removed safely and the abrasive cuts normally again, loading was likely the main problem.
If the abrasive remains ineffective after cleaning, or the backing and abrasive surface are damaged, replacement is necessary.
Before replacing every clogged disc, identify what caused the loading.
Otherwise, the next disc may develop the same problem
Sandpaper loading is usually caused by a combination of material properties, abrasive selection, heat, and dust removal.
Understanding the cause is more useful than repeatedly replacing sanding discs.
| Cause | Why It Causes Clogging | Recommended Solution |
|---|---|---|
| Uncured Paint or Primer | Soft coating residue sticks to abrasive grains | Allow proper curing |
| Incorrect Grit | Material removal exceeds the abrasive's capacity | Select an appropriate starting grit |
| Excessive Pressure | Heat and trapped dust increase loading | Reduce pressure |
| Poor Dust Extraction | Particles remain under the abrasive | Check extraction system |
| Loading-Prone Material | Resin, adhesives, or soft debris accumulate | Use a suitable abrasive structure |
This is a common problem in automotive refinishing and coating preparation.
A surface may feel dry but still be soft underneath.
When sanding begins, friction and heat can soften the material further.
Instead of forming free-flowing powder, the coating may form sticky particles that collect on the disc.
What should you do?
Check the coating manufacturer's technical data sheet for the required sanding time, temperature, humidity, and curing conditions.
Test a small area before continuing.
If sticky clumps form immediately, stop sanding and investigate the coating condition.
Fine abrasives generally have smaller cutting grains and may have less open space available for debris.
Using a fine finishing disc to remove a large amount of material can cause it to load before completing the task.
For example, using P220 to level a thick layer of filler may be less efficient than starting with a suitable coarser grit.
The correct solution is not always to use the coarsest available abrasive.
The starting grit should remove material efficiently without creating unnecessary scratches.
More pressure does not always produce faster sanding.
On random orbital sanders, excessive pressure may interfere with pad rotation and increase friction.
This can cause:
Use controlled pressure and keep the sanding pad in appropriate contact with the workpiece.
If the disc requires excessive pressure to remove material, review the grit, abrasive condition, and tool setup.
Even a suitable abrasive can clog when dust cannot leave the sanding area.
Common causes include blocked extraction holes, incorrect disc-to-pad alignment, clogged filters, and poorly connected vacuum hoses.
A complete extraction system should allow dust to travel through the abrasive and backing pad into the collection equipment.
Sanding Disc → Backing Pad → Extraction Channels → Hose → Dust Collector
The complete system matters more than the number of holes alone.
Some materials produce dust that is more likely to stick to abrasive grains.
Resinous wood, soft coatings, adhesives, epoxy, and certain soft metals can create material buildup during sanding.
For these applications, changing grit alone may not solve the problem.
An appropriate abrasive structure, better extraction, and lower heat generation may be necessary.
Not all sanding dust behaves in the same way.
MDF produces fine particles, resinous wood may generate sticky debris, and uncured automotive coatings can soften during sanding.
Industrial buyers should therefore select abrasives according to the workpiece material and sanding process.
| Material | Common Loading Problem | Abrasive Selection Direction |
|---|---|---|
| Softwood / Resinous Wood | Resin and fine wood dust | Open-structure abrasive where suitable |
| MDF | High volume of fine dust | Mesh / Multi-Hole Sanding Disc |
| Automotive Body Filler | Fine powder accumulation | Compatible extraction sanding disc |
| Automotive Primer | Fine dust or soft coating residue | Mesh / Multi-Hole / Film Disc |
| Old Paint or Varnish | Heat-softened coating particles | Suitable grit and coating preparation |
| Epoxy / Resin | Sticky or heat-sensitive residue | Application-tested abrasive |
| Aluminum / Soft Metals | Material adhesion to abrasive surface | Material-specific coated abrasive |
| Drywall / Wall Putty | Fine powder buildup | Mesh Sanding Disc |
Woodworking factories commonly sand solid wood, MDF, plywood, and furniture coatings.
Resinous woods may release sticky particles, especially when sanding generates excessive heat.
MDF produces large amounts of fine dust that can accumulate across the abrasive surface.
For compatible dust-extraction systems, Aozhong Mesh Sanding Discs can help provide additional dust-removal paths.
Multi-hole discs are another option when their extraction pattern matches the backing pad.
Body filler and primer sanding frequently generate fine particles.
If the extraction system is inefficient, dust can accumulate rapidly on the abrasive.
When primer or filler is not fully ready for sanding, the material may also form sticky clumps.
For these applications, buyers can evaluate Aozhong's Mesh Sanding Discs, Multi-Hole Sanding Discs, and Film Sanding Discs according to the required sanding stage.
Film backing helps provide stable support, but film backing alone does not make a sanding disc anti-clogging.
The abrasive construction, coating treatment, extraction design, and process conditions must all be considered.
When sanding soft metals, removed particles may adhere to the abrasive surface.
Heat generation and unsuitable abrasive selection can increase this problem.
Buyers should consider the abrasive grain, coating structure, tool operating conditions, and actual workpiece material.
Ceramic and zirconia abrasives can offer useful cutting and wear characteristics in selected metalworking applications. However, their grain type alone does not guarantee resistance to loading.
Product selection should be confirmed through application testing.
Most sandpaper loading problems can be reduced by improving the sanding process before switching products.
The following methods are useful for professional operators and industrial production teams.
Start with a grit that can remove the required material without excessive pressure.
Then move through the appropriate grit sequence to achieve the final surface finish.
Using a fine finishing abrasive for heavy leveling often wastes time and increases loading.
Using an excessively coarse abrasive may create deeper scratches and additional finishing work.
The correct grit should balance cutting efficiency and scratch control.
For automotive primer, filler, paint, varnish, and other coatings, follow the manufacturer's recommended sanding conditions.
Do not rely only on whether the surface feels dry.
Soft material can clog an abrasive even when the disc itself is suitable.
Allow the abrasive grains to perform the cutting.
For compatible random orbital sanding systems, use controlled pressure, maintain suitable pad contact, and avoid unnecessarily aggressive operation.
If cutting efficiency falls, inspect the abrasive instead of immediately increasing pressure.
Dust extraction is an important part of preventing abrasive loading.
| Extraction Component | What to Check |
|---|---|
| Sanding Disc | Hole or mesh openings are not blocked |
| Backing Pad | Compatible extraction channels |
| Hole Pattern | Correct disc and pad alignment |
| Vacuum Hose | No blockage or leakage |
| Filter | Clean and suitable for the material |
| Dust Collector | Adequate collection performance |
Some coated abrasives use a more open grain arrangement or a surface treatment designed to reduce debris adhesion.
Anti-loading coatings, including certain stearate-based treatments, can help reduce loading in suitable applications.
However, they cannot compensate for uncured coatings, excessive pressure, or poor dust extraction.
Aozhong's Mesh Sanding Discs and compatible Multi-Hole products provide different approaches to dust removal.
Optional coating treatments should be confirmed for the specific product construction and application rather than assumed to be standard across all products.
Some dry wood dust and loose residue can be removed with a compatible abrasive cleaning product.
Stop the machine and follow the tool and cleaning-product instructions.
Do not continue using discs with hard embedded clumps, damaged backing, loose abrasive grains, or torn edges.
Avoid using compressed air to scatter fine sanding dust around the workplace.
Also avoid applying solvents, waxes, or lubricants to abrasives unless the abrasive and workpiece process explicitly allow them, as these substances may create safety or coating-contamination problems.
Sandpaper clogging is not always a sign of poor abrasive quality.
It may result from uncured coatings, unsuitable grit, excessive pressure, heat, poor dust extraction, or the material being sanded.
A practical troubleshooting process is:
Identify the Buildup → Check the Material → Review the Grit → Adjust Pressure → Improve Extraction → Evaluate the Abrasive
For dust-heavy applications, mesh and compatible multi-hole sanding discs can help provide additional dust-removal paths.
However, no abrasive structure can completely eliminate loading under every working condition.
Aozhong provides different abrasive constructions, OEM customization, and sample evaluation services to help industrial buyers select products for their actual sanding processes.
The goal is to maintain effective cutting, reduce unnecessary abrasive consumption, and achieve a consistent surface finish.